概述
VLLM(Vectorized Large Language Model Inference)是由UC Berkeley的系统研究团队开发,专注于优化大模型的推理速度框架,核心亮点在于通过PagedAttention 注意力算法以提高服务的吞吐量。
核心原理是能够将kv-cache动态分配在不连续的空间,提高整体显存利用率和并发数。
架构参考:
https://docs.vllm.ai/en/latest/design/arch_overview.html
安装 Vllm
环境配置
使用VLLM部署Qwen3 0.6B
参考Qwen文档
https://qwen.readthedocs.io/zh-cn/latest/deployment/vllm.html
硬件配置
CPU:AMD-5900X
内存:128G
显卡:RTX-3060-12G
软件:
vllm:0.9.1
Python:3.12.7
Models:Qwen3-0.6B
部署vllm 0.9.1版本,建议Python: 3.9 – 3.12版本,cuda版本12.8
参考Nvidia官方手册安装cuda
1 | https://developer.nvidia.com/cuda-12-8-0-download-archive?target_os=Linux&target_arch=x86_64&Distribution=Ubuntu&target_version=22.04&target_type=deb_local |
安装miniconda
1 | wget https://repo.anaconda.com/miniconda/Miniconda3-latest-Linux-x86_64.sh |
运行安装脚本
1 | bash Miniconda3-latest-Linux-x86_64.sh |
- 按提示按 Enter 阅读协议 → 输入 yes 同意
- 设置安装路径(默认 ~/miniconda3 即可)
- 提示 **Do you wish to initialize Miniconda3?** 选 yes
安装完成后配置bash
在/root/.bashrc添加PATH目录
1 | export PATH=/root/miniconda3/bin:$PATH |
1 | sorce /root/.bashrc |
验证
1 | conda --version |
创建vllm部署的Python环境
1 | conda create -n vllm python=3.12.7 |
1 | conda config --add channels https://mirrors.tuna.tsinghua.edu.cn/anaconda/pkgs/main |
安装pytorch
因为当前cuda12.2对应的torch版本还没有进入稳定版所以这里用的nightly路径。
1 | pip install --pre torch==2.7.0.dev20250310+cu128 --index-url https://download.pytorch.org/whl/nightly/cu128 |
安装vllm引擎
1 | pip install vllm==0.9.0.1 |
测试
1 | python |
验证vllm版本
1 | vllm --version |
下载模型
指定下载路径
1 | mkdir -p /root/models/Qwen/Qwen3 |
从modelscope下载比huggingface要快一些
先安装modelscope
1 | pip install modelscope |
下载模型
1 | modelscope download --model Qwen/Qwen3-0.6B --local_dir /root/models/Qwen/Qwen3 |
通过vllm加载启动模型
对外暴露的方式有两种LLM Class和OpenAI-Compatible API Server这里使用OpenAI方式对外暴露
1 | CUDA_VISIBLE_DEVICES=0 python3 -m vllm.entrypoints.openai.api_server --model /root/models/Qwen/Qwen3 --served-model-name=Qwen3-0.6B --dtype=bfloat16 --trust-remote-code --max-model-len=1024 --tensor-parallel-size=1 --gpu-memory-utilization=0.85 --enable-reasoning --reasoning-parser deepseek_r1 --port 8000 --api-key 123456 |
参数作用
以下是转换后的参数说明表格(Markdown格式):
| 参数 | 作用 | 值说明 | 引用来源 |
|---|---|---|---|
--model /data/models/Qwen/Qwen3 |
指定模型路径 | 本地存储的 Qwen 模型目录,需提前下载(如通过 modelscope download) |
|
--served-model-name=Qwen3-0.6B |
设置 API 中模型名称 | 客户端调用时使用的标识符(如 model="Qwen3-0.6B") |
|
--dtype=bfloat16 |
指定计算精度 | bfloat16 减少显存占用,适合低显存 GPU(如 RTX 2080Ti) |
|
--trust-remote-code |
允许加载自定义代码 | 用于支持非标准模型架构(如 Qwen 的特殊 tokenizer) | |
--max-model-len=1024 |
最大上下文长度 | 限制单次请求的 token 数量(值越大,显存需求越高) | |
--tensor-parallel-size=1 |
张量并行大小 | 1 表示单 GPU 运行;多卡需设为 GPU 数量(如 --tensor-parallel-size=4) |
|
--gpu-memory-utilization=0.85 |
GPU 显存利用率 | 预分配 85% 显存给模型和 KV 缓存,避免 OOM(默认 0.9) | |
--enable-reasoning --reasoning-parser deepseek_r1 |
启用推理功能 | 使用 DeepSeek 的解析器增强逻辑推理能力(需 vLLM ≥0.7.3) | |
--port 8000 |
服务监听端口 | API 通过 http://<IP>:8801/v1 提供(需防火墙放行) |
|
--api-key 123456 |
设置 API 认证密钥 | 客户端需在 Header 中添加 Authorization: Bearer 123456 |
补充说明:
- 模型路径格式
- 支持本地路径(如
/data/models/Qwen/Qwen3)或 Hugging Face 模型 ID(如Qwen/Qwen3-0.6B)。
- 支持本地路径(如
- 显存优化
bfloat16在低显存 GPU 上可减少约 30% 显存占用,但可能损失少量精度。
- 推理功能扩展
deepseek_r1解析器需配合 vLLM ≥0.7.3 使用,支持逻辑推理任务的分步解析。
- 安全认证
--api-key强制客户端通过Authorization: Bearer标头认证,防止未授权访问。
注:参数值中的路径、端口和密钥需根据实际环境调整。
运行成功后可以通过命令行看见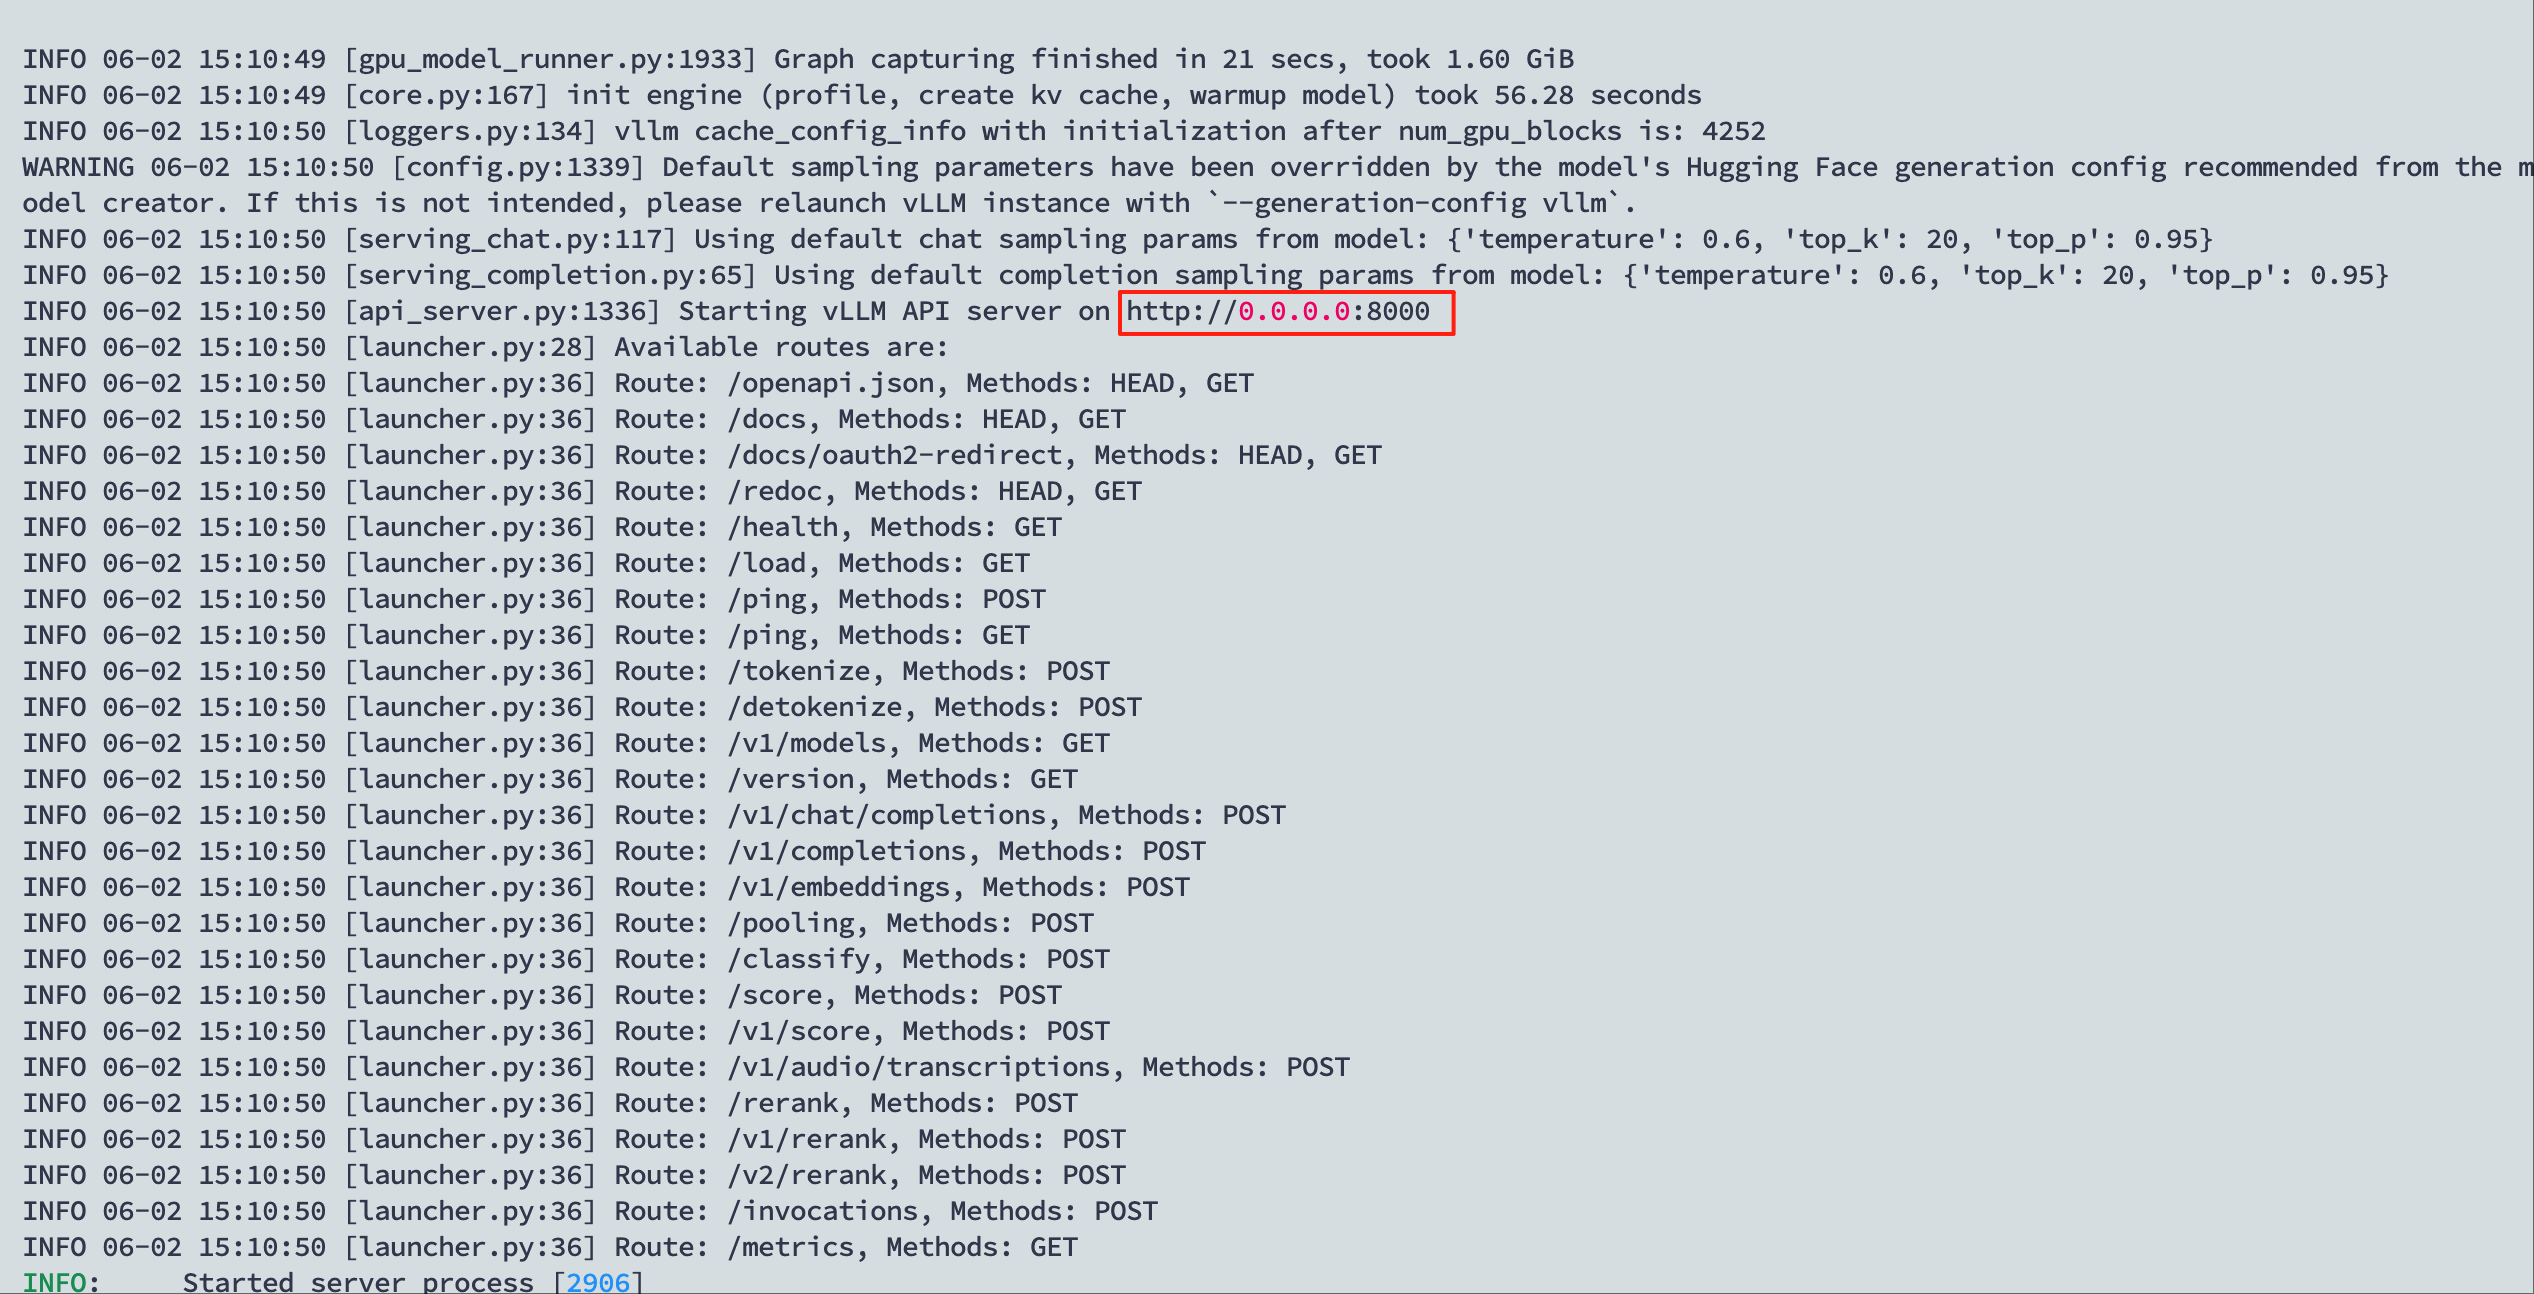
通过curl命令访问
1 | curl http://localhost:8000/v1/chat/completions -H "Content-Type: application/json" -H "Authorization: Bearer 123456" -d '{ |
在server端也可以看见输出的token的速度
1 | INFO 06-02 15:13:40 [async_llm.py:261] Added request chatcmpl-0d62a87c6c2d4146927d7e704b11ffc7. |
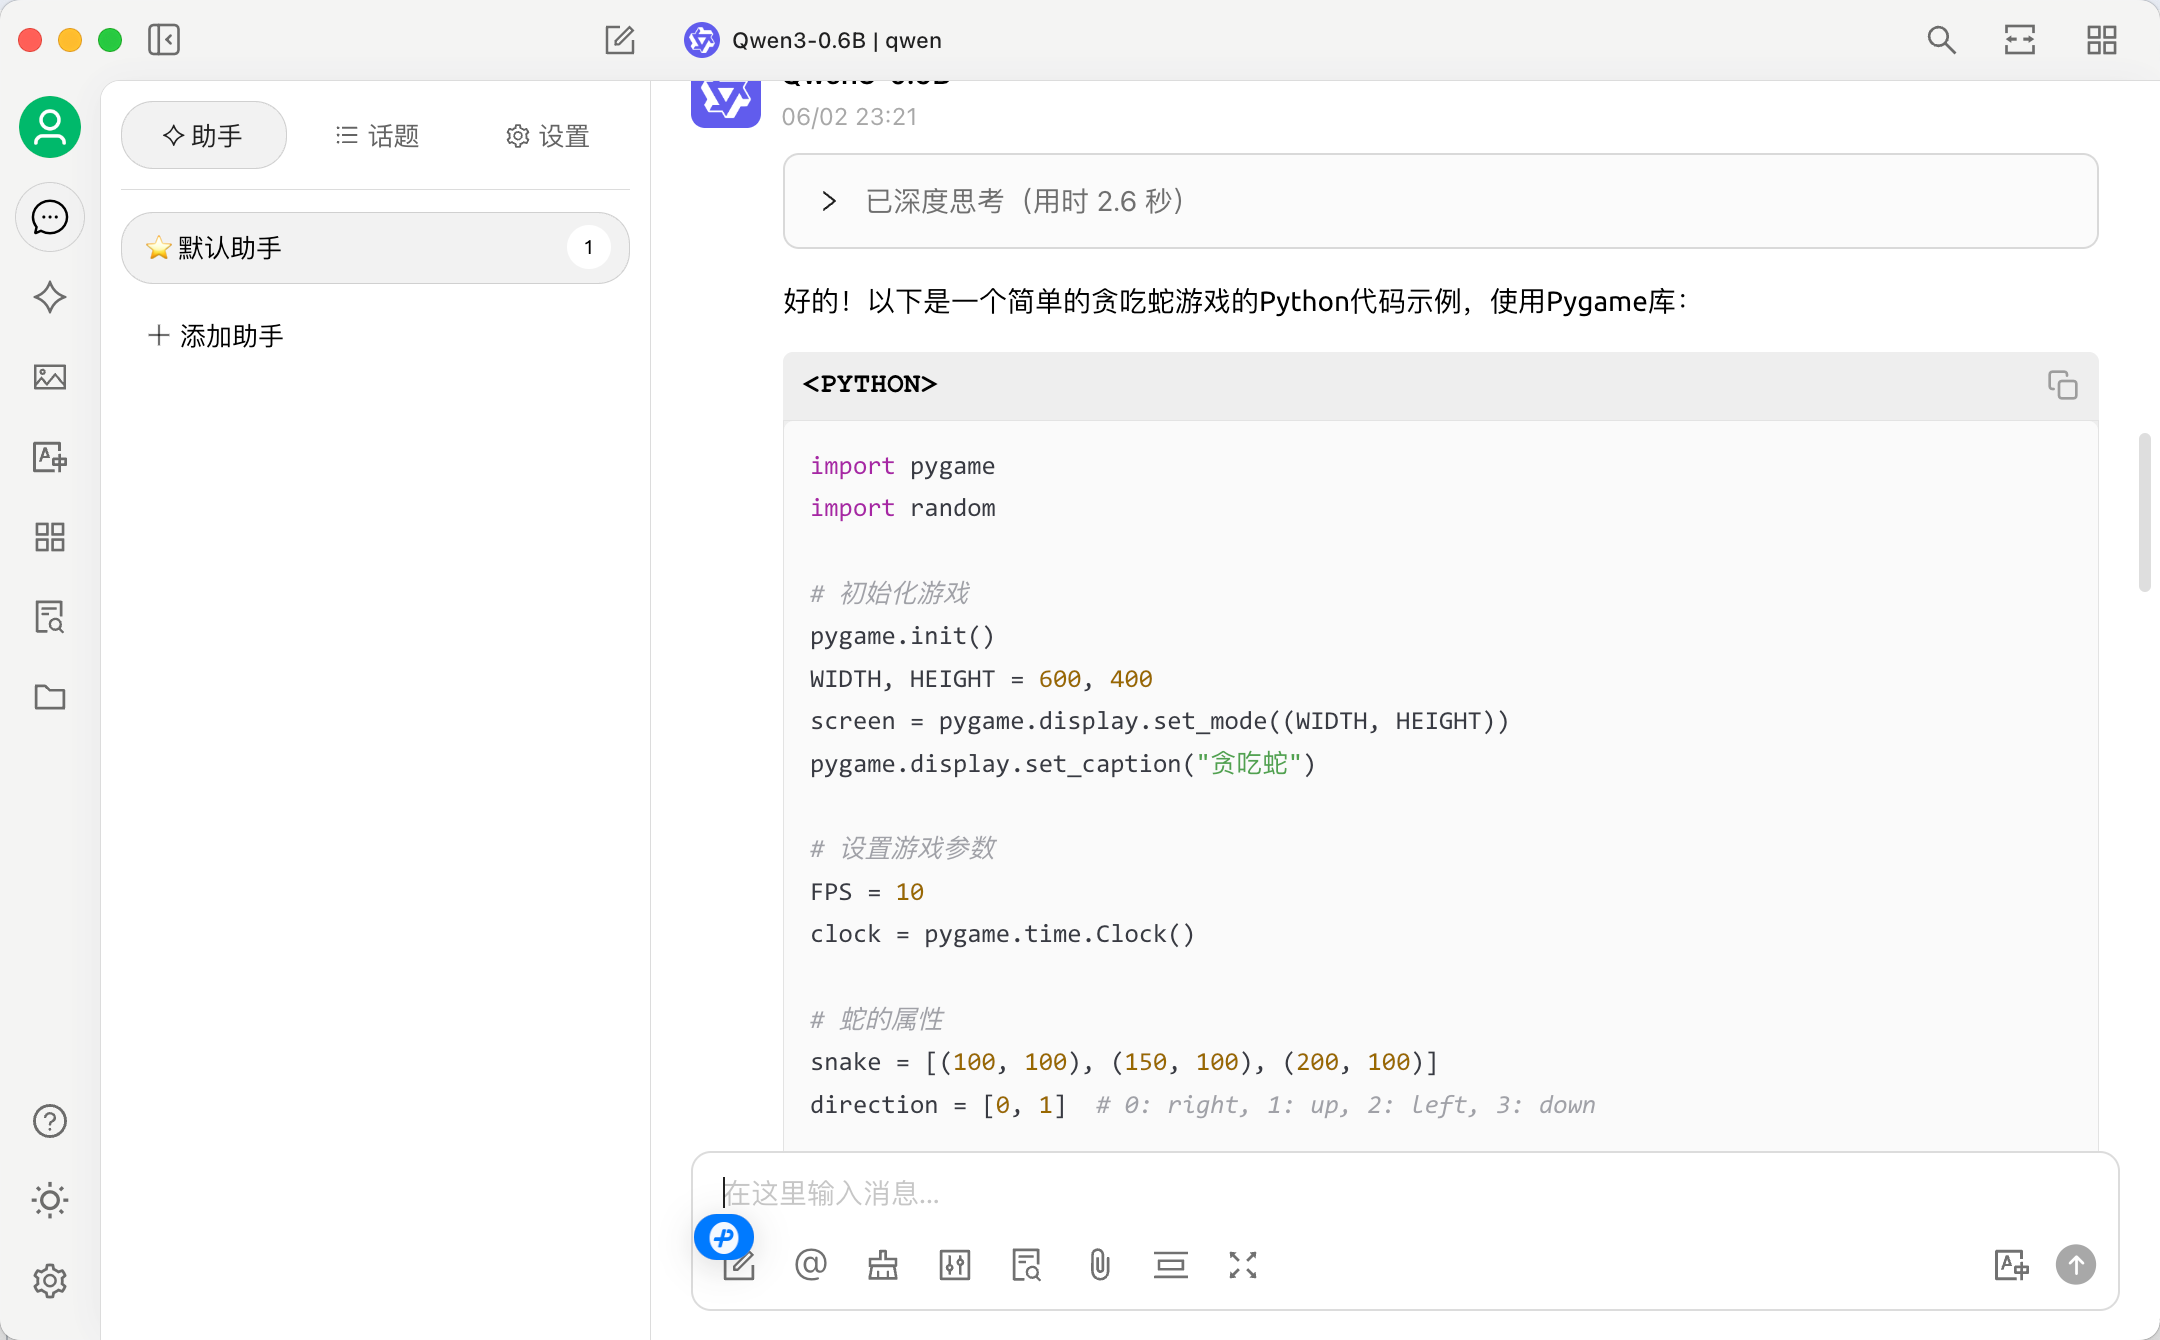
也可以通过Open WebUI或Cherry Studio配置访问